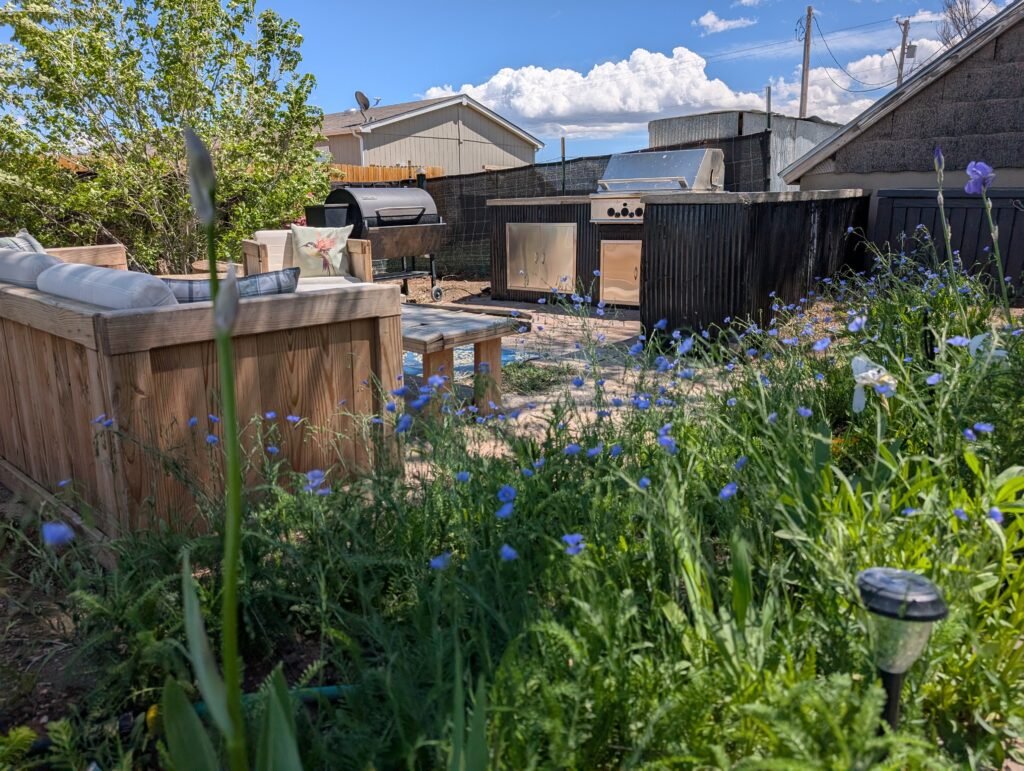
Building an outdoor kitchen for under $500

I have always been a person who enjoys working with my hands, and becoming a mom certainly didn’t change that. However, being a stay-at-home mom has limited the amount of money I can spend on things, so I have mastered the art of getting what I want at a fraction of the price. I also did all this work while my baby was sleeping or playing in a pen outside. I gave her some tools to keep her occupied, haha.
We ended up moving to a house on one acre that needed a lot of work. Along with the work came some random used materials around the property. My husband had received a nice built-in BBQ grill for free from an old client, and it needed a nice home to go in. I wanted to surprise him by building it for him. I’m going to tell you how I built him an outdoor kitchen for less than $500, and what I would do differently. By no means am I a carpenter but I think our outdoor kitchen turned out great especially for the budget! It has already hosted a few BBQ’s.
Dream it up
I picked a location for the kitchen and designed a layout that I thought would work well. When designing, consider all aspects such as where people will walk, counter space, smoke direction away from the house to reduce fire risk, the type of counters and siding you want, how the grill will fit, and where people will gather. I had built a lounge area in my flower garden that was perfect for the kitchen.
Prepare the location
I leveled out the area.
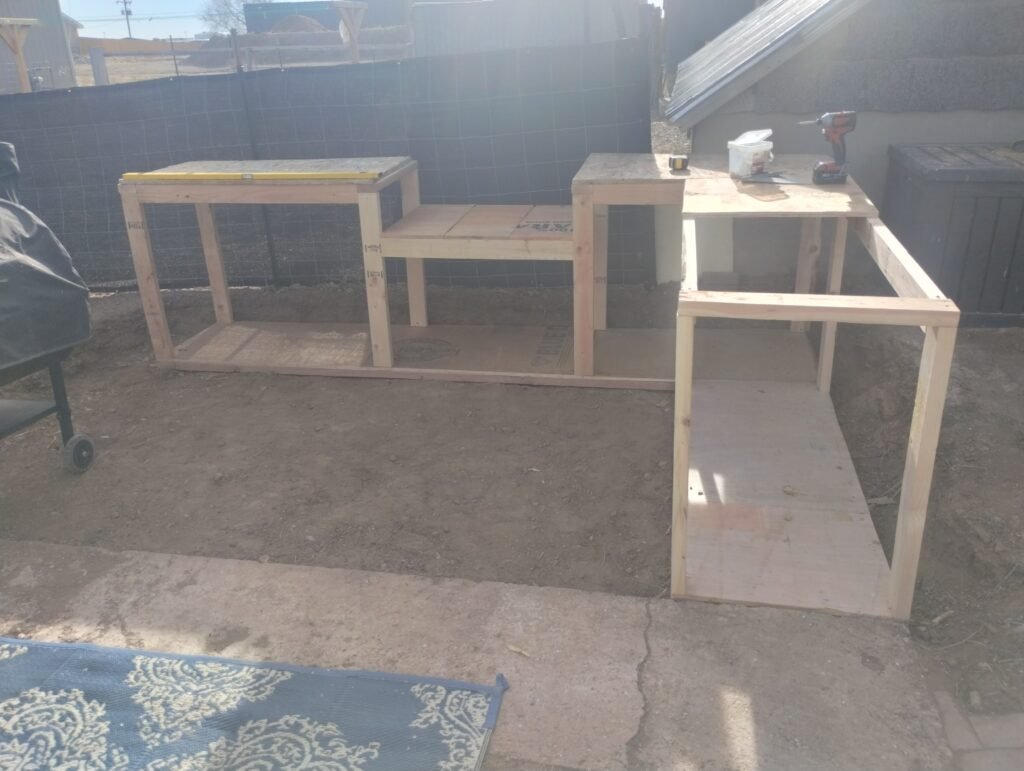
Framing
I built a platform and framed up from there. Make sure to use treated ground contact wood for everything touching the ground. Also, don’t forget to frame out your doors, drawers, or inserts and make sure to have an open space for your gas line.
Wrap with OSB
Identify where you want your doors, drawers, or inserts. You will want to attach OSB around everything that isn’t an opening. I wish I had done this, but I didn’t have the money in my budget.
Frame out for the pour
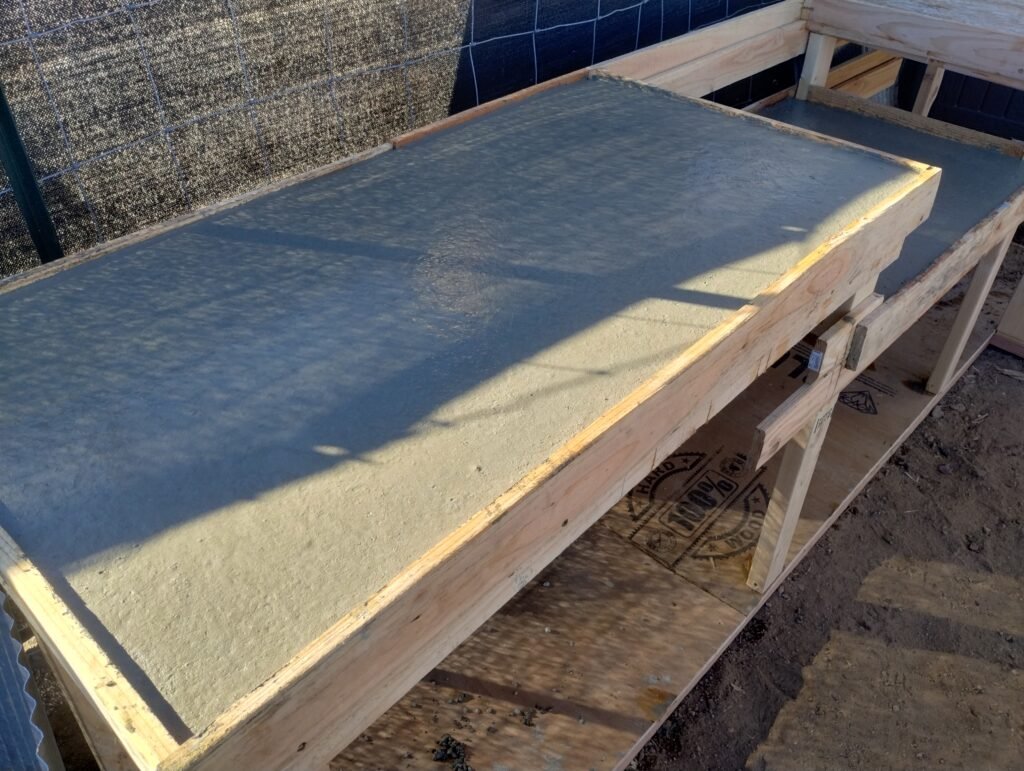
I chose a concrete countertop because it was a cheaper option that was still very durable. I framed out the countertops for an overhang. Applying vegetable oil to the form made it easy to separate when dried.
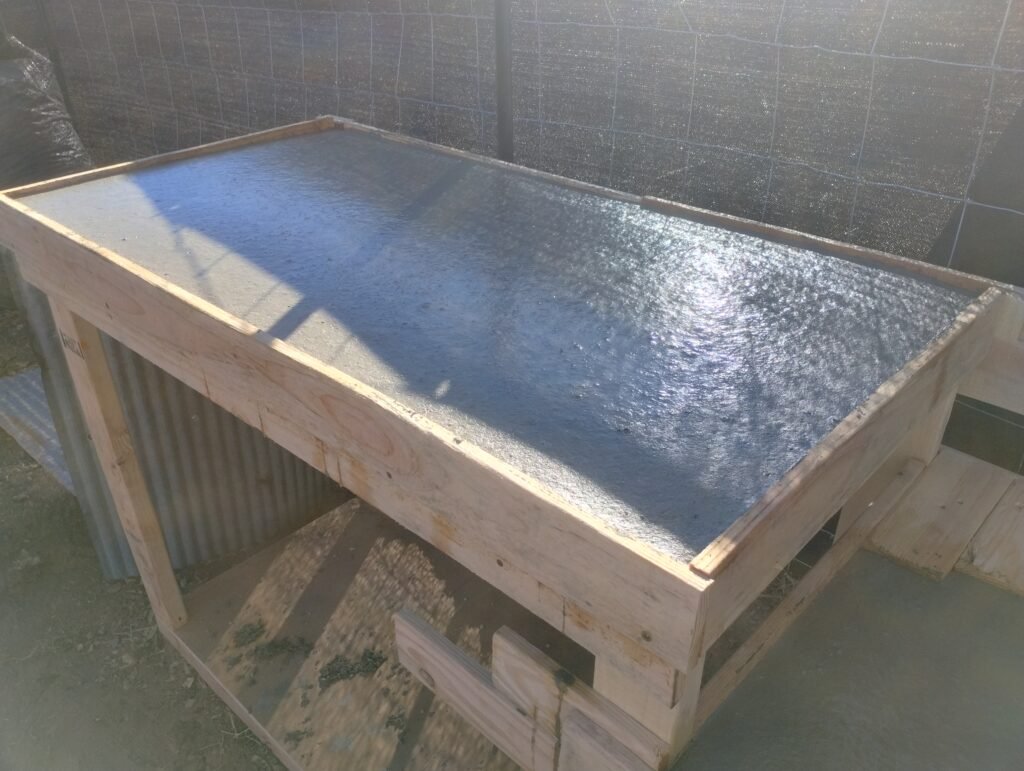
Pour the concrete
There is a special concrete mix specifically for countertops. In hindsight, I should have used that, but it’s about four times the price and I had a fairly large counter. If you are using a concrete counter, vibrate the wet concrete to remove air bubbles. I hit the underside with a mallet until I couldn’t lift my arm anymore. Another option is to use a reciprocating saw without a blade. A big mistake I made was pouring concrete when it was too cold. I am very impatient, and it was fall/winter… you can do the math, haha.
Place the Grill
My friend was visiting and helped me set the BBQ in place. This was no easy task, as the grill weighed about 400 lbs! Apparently when you are my friend and I ask you for help… you should run.
Make it pretty
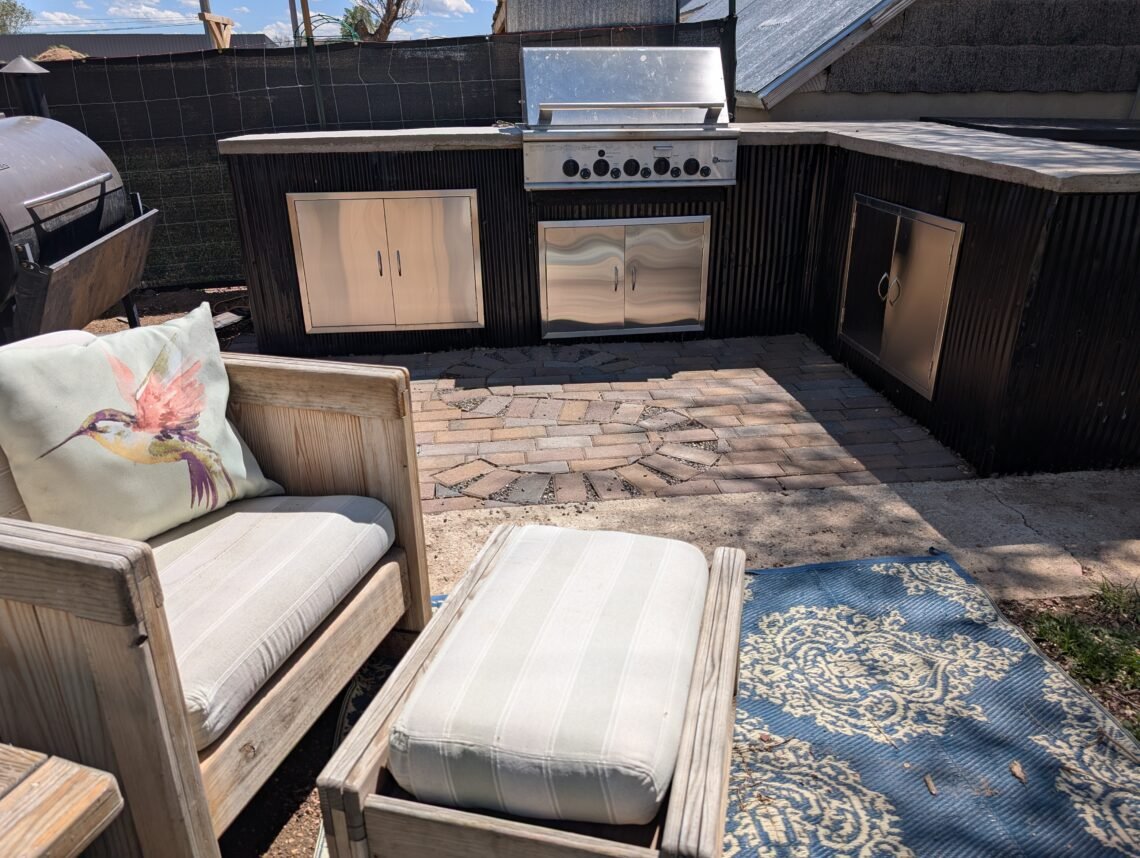
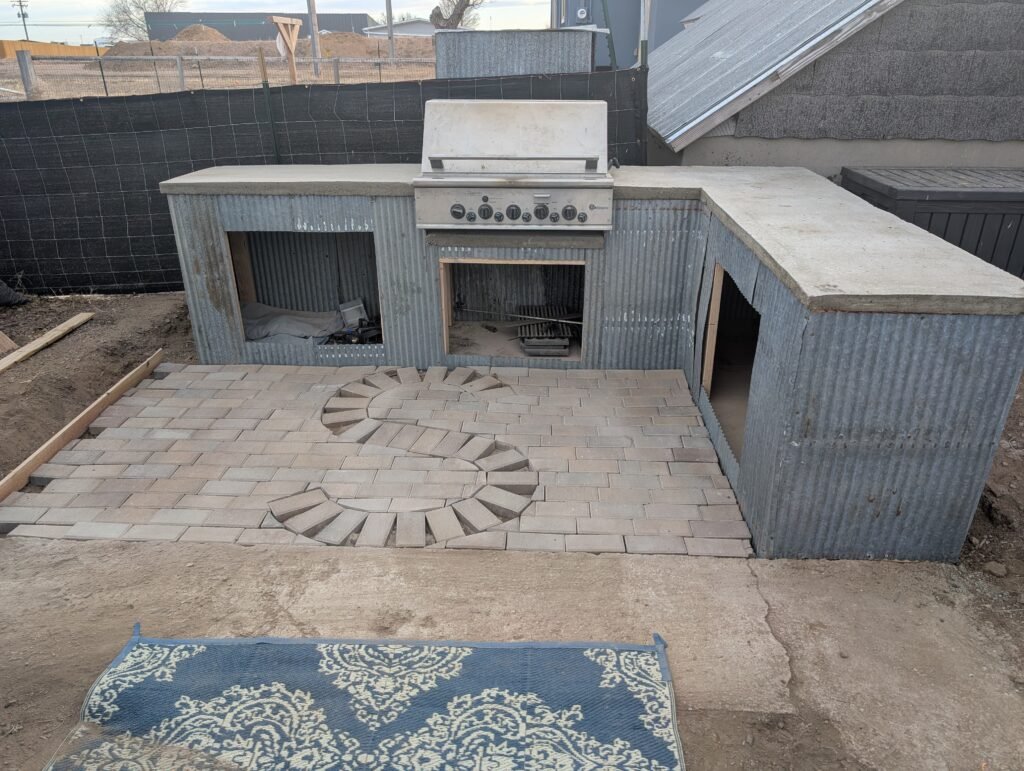
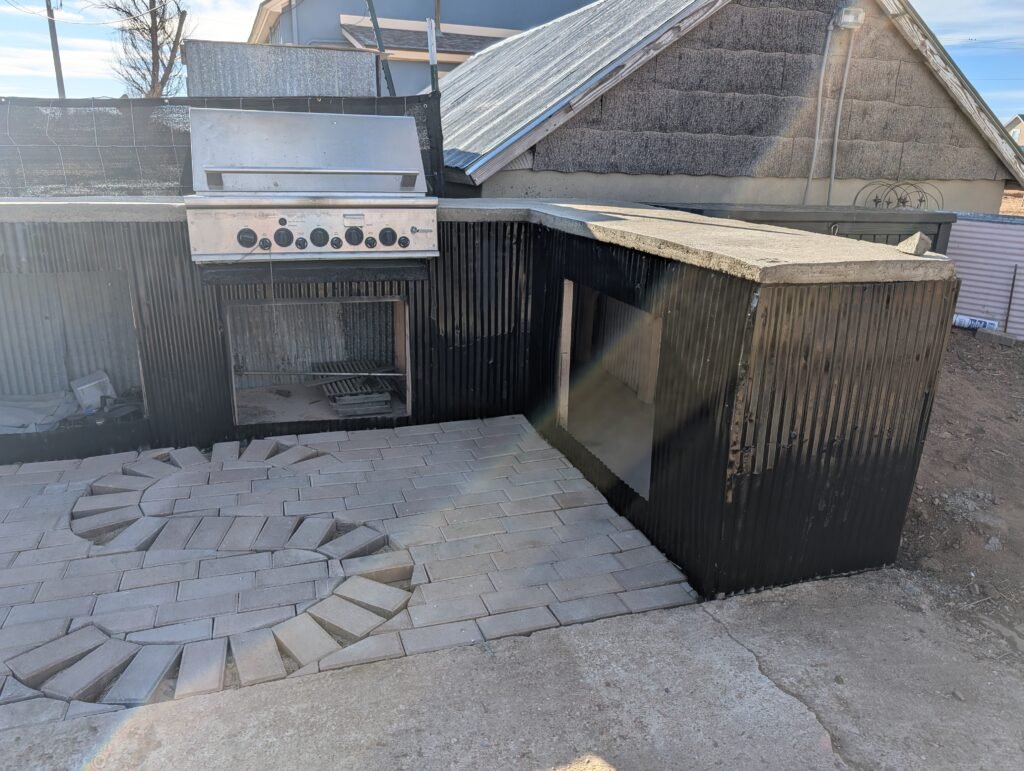
I added siding, making sure it didn’t interfere with the doors. I used corrugated metal sheets we had acquired from our backyard. They were heavily used, but I knew they would look fine once painted.
Installing doors
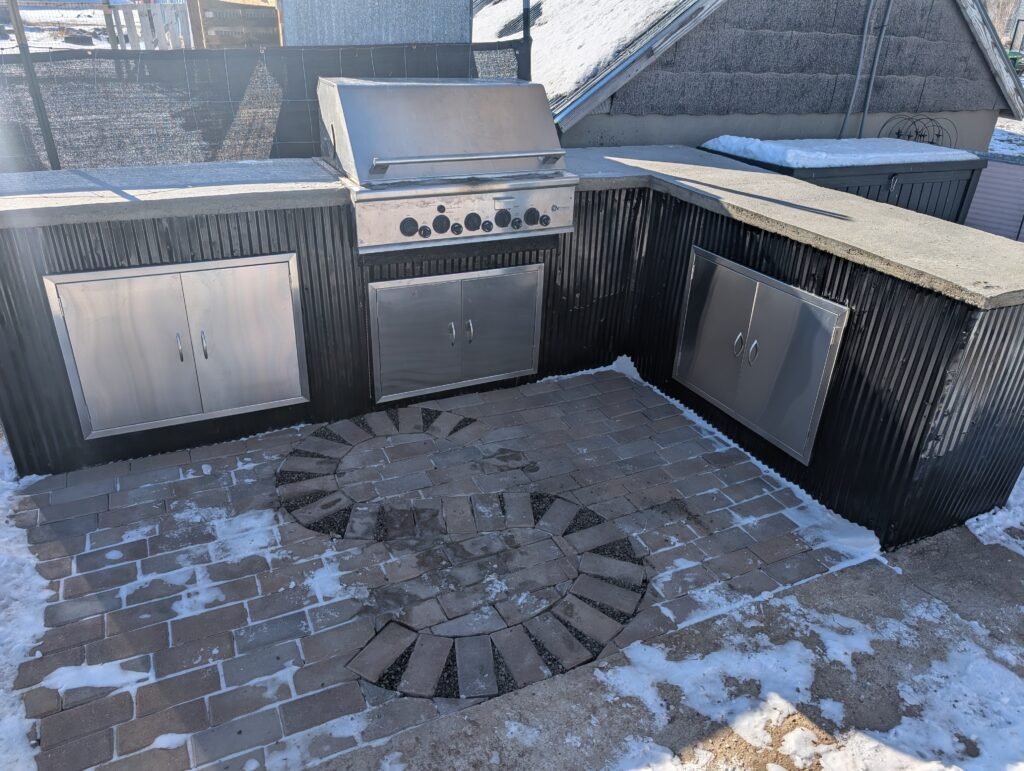
I installed the BBQ doors I purchased from Amazon. They were used but looked brand new and worked perfectly.
Final touches
I installed the pavers. The correct way to do this is to completely level the area with sand, but I just tried to make sure the ground was as level as possible. You can create a fancy design or a simple layout, both will look great!
Lastly, enjoy all your hard work!